


Article Contents:
- Ceiling skirting board: wooden profile for decorating the joint between wall and ceiling
- What is a ceiling skirting board and why is it needed
- The role of ceiling skirting board in different interior styles
- How ceiling wooden skirting board differs from floor skirting board — shape, dimensions
- Three fundamental differences
- Size range of ceiling wooden skirting board
- Wooden cornice and molding cornice — when to use what
- Selection logic: not 'what is better', but 'what is correct'
- Selection Table: Wood vs Polyurethane for Ceiling Cornice
- When Perfect - Both at Once
- Wooden Molding and Polyurethane Stucco on Walls - Combined Use
- Bottom-Up System: How Decorative Verticality is Built
- How Decorative Stucco Complements Wooden Molding
- Specifics of Working with K-Series Wooden Moldings
- DIY Ceiling Skirting Installation: Glue, Nails, Corner Joints
- Preparation for Installation: Three Essential Steps
- Glue for Wooden Ceiling Skirting
- Nails or Glue Only?
- Corner joints: three methods, one goal
- Sealing joints: the final step you can't skip
- Painting in white and colored options
- Preparing the surface of a wooden skirting board for painting
- White color: which shade to choose
- Wooden ceiling skirting without painting: oil and varnish
- Colored solutions: beyond white
- FAQ: Answers to Popular Questions
- About the Company STAVROS

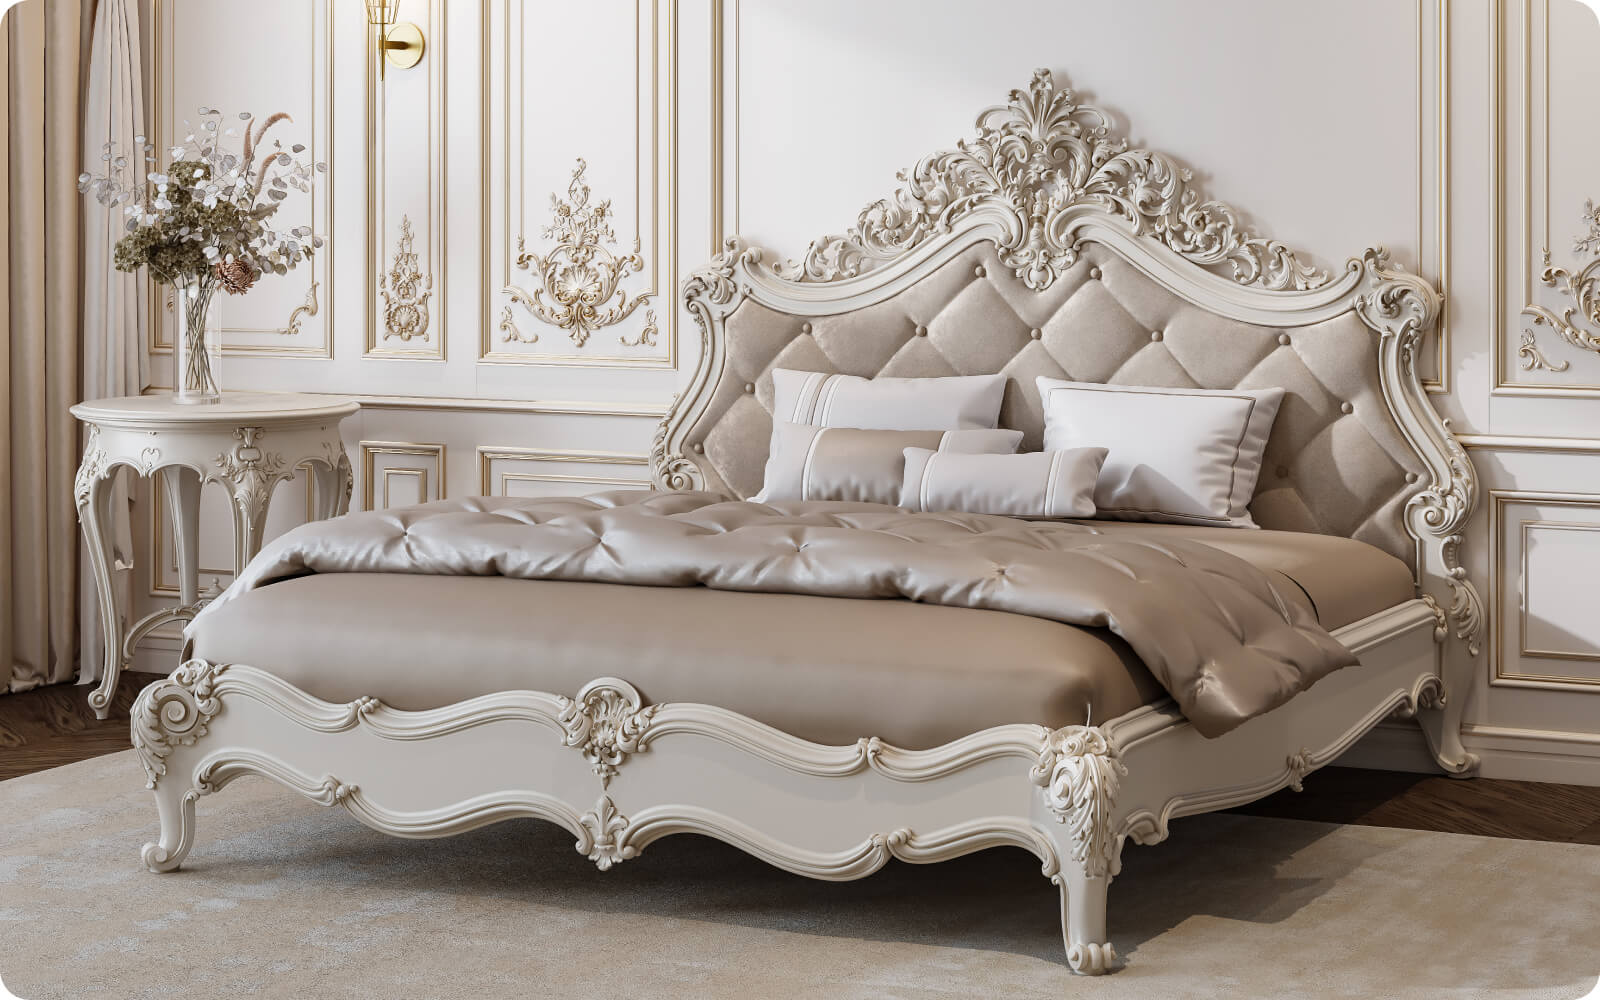
There is one detail that everyone notices but rarely names. It is located where the wall meets the ceiling—on the seemingly most invisible line in the room. But it is this line that determines whether the space feels finished or 'open,' random. It is there that livesWooden ceiling skirting board—one of the most underrated and yet one of the most transformative finishing elements.
A ceiling wooden skirting is not the same as a floor one flipped upside down. It is an independent architectural element with its own logic of profile, size, and application. And the question of how to choose the right profile, when to use wood versus polyurethane molding, and how to install it all yourself—requires professional analysis.
In this article—an honest, detailed answer to each of these questions. Without fluff and generalities. Only practice.


Ceiling skirting: wooden profile for finishing the wall-ceiling joint
What is ceiling skirting and why is it needed
Технически потолочный плинтус — это профилированная планка, скрывающая стык между стеной и потолком. Функция очевидна: закрыть щель, которая неизбежно возникает при любом ремонте. Но в этом — только утилитарная сторона. Архитектурная сторона значительно интереснее.
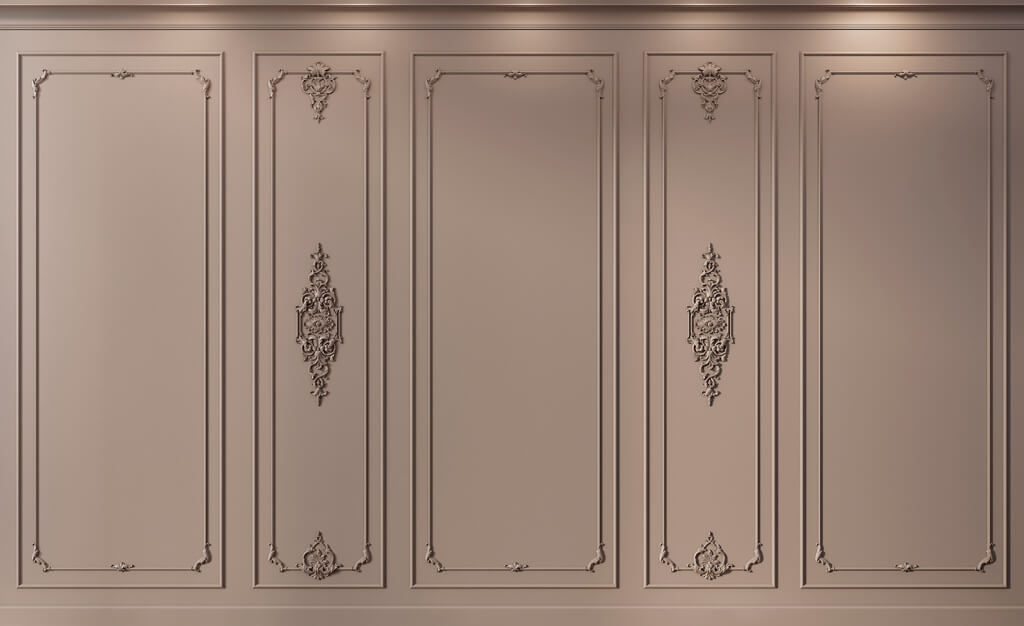
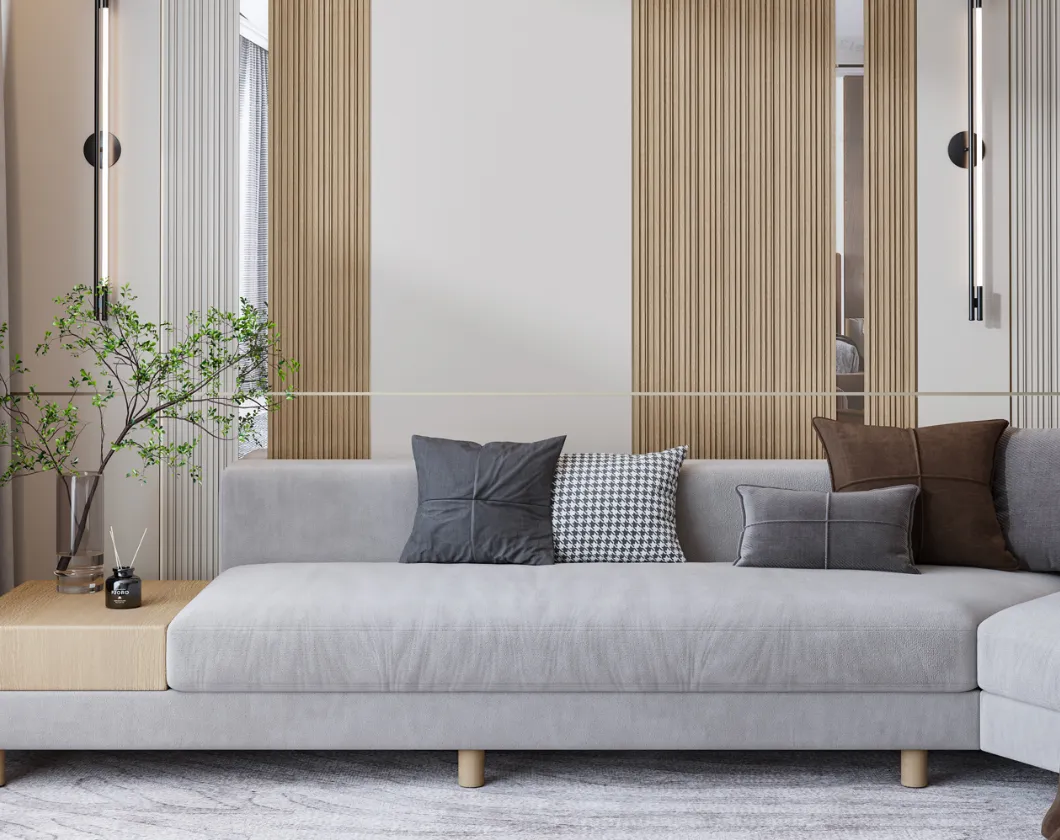
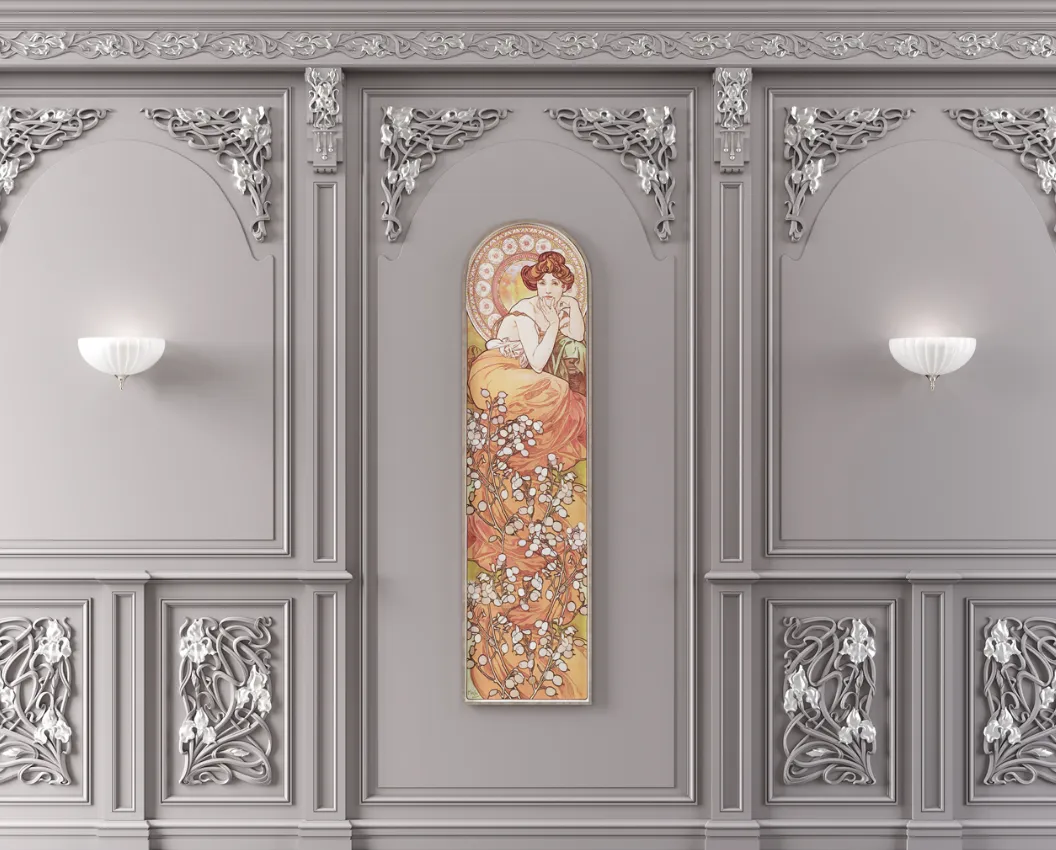
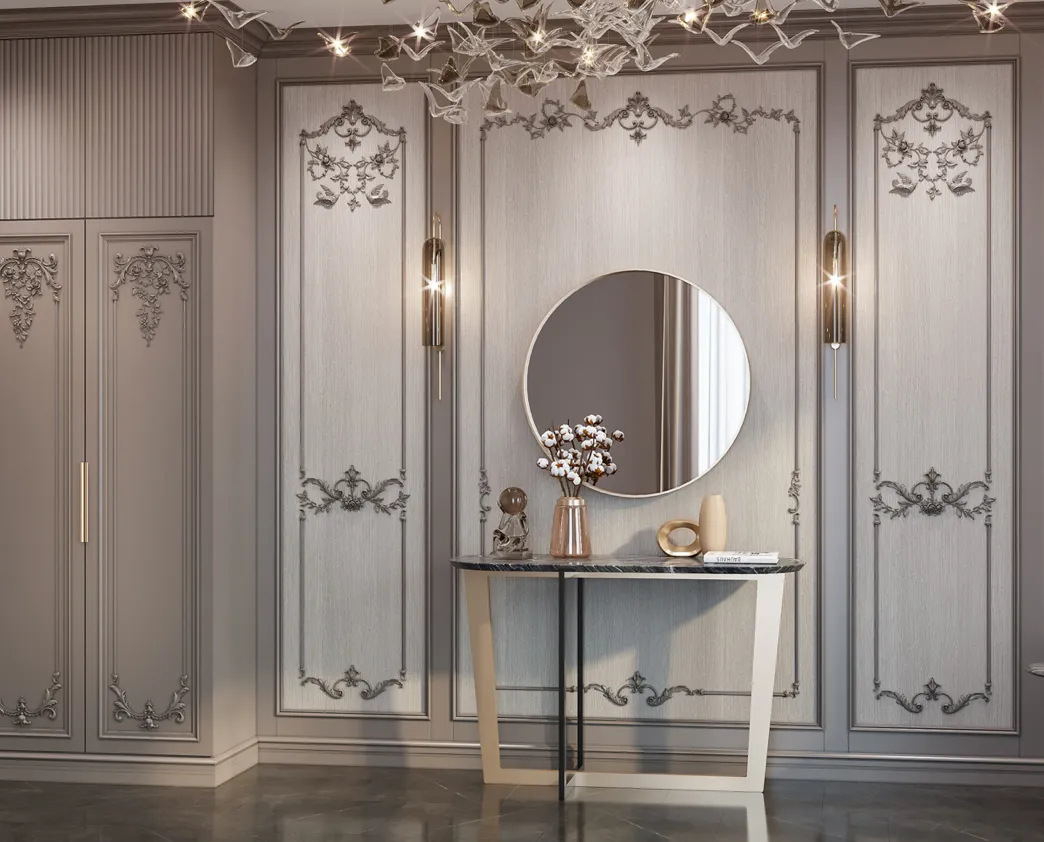
Ceiling skirting creates what professionals call 'spatial closure'. A room without ceiling skirting is like a painting without a frame: the image exists, but it 'floats'. Skirting or cornice at the wall-ceiling joint frames the space from above, creating a sense of completeness, of the interior being 'packaged'.
This explains the observation many have noticed in good renovations: a room with a quality cornice or ceiling skirting looks more expensive and thoughtful—even with modest furniture and plain walls. The detail works for the space as a whole.
Our factory also produces:


The role of ceiling skirting in different interior styles
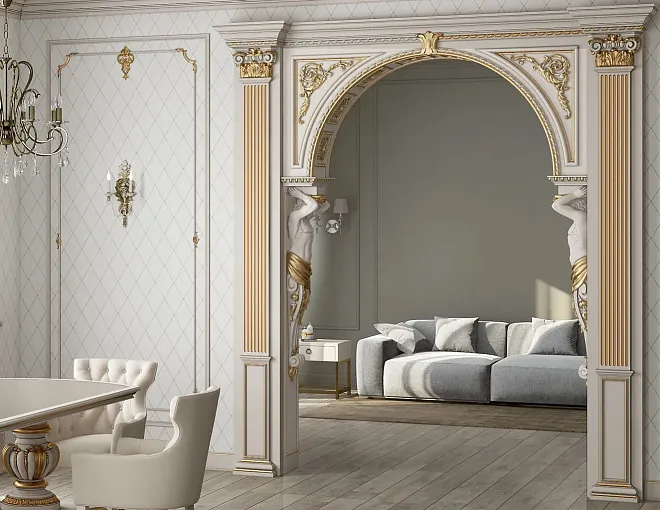
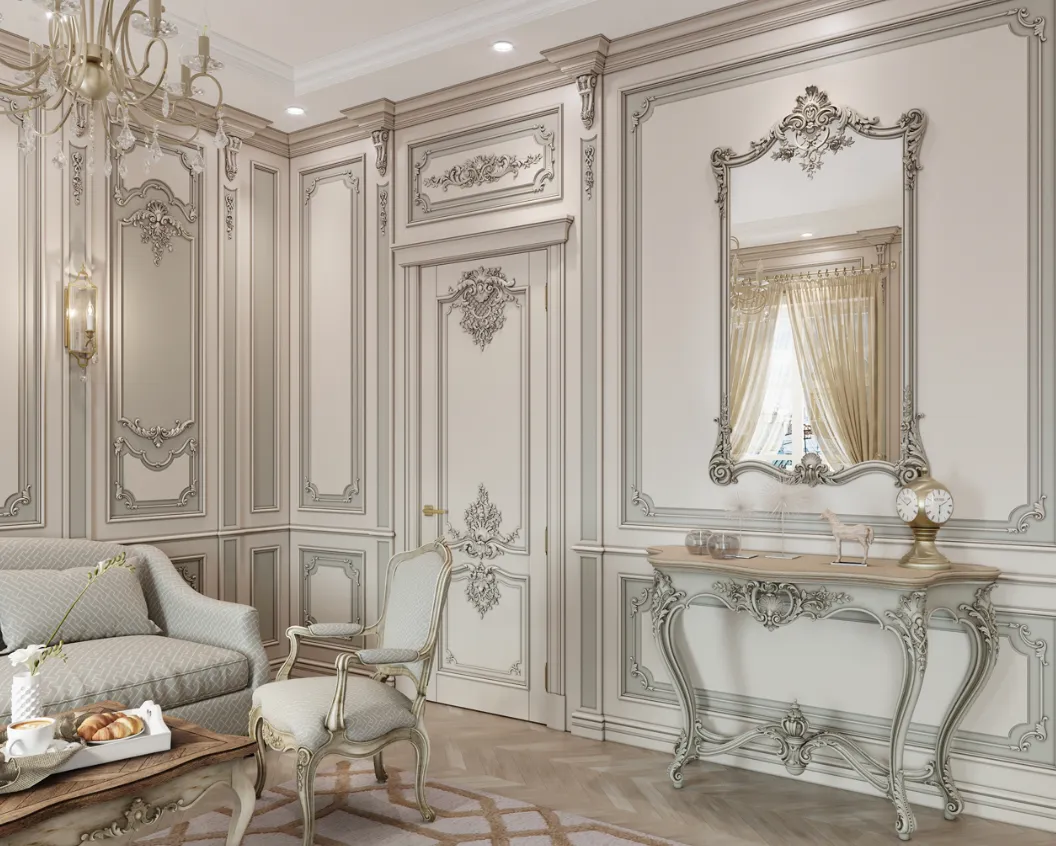
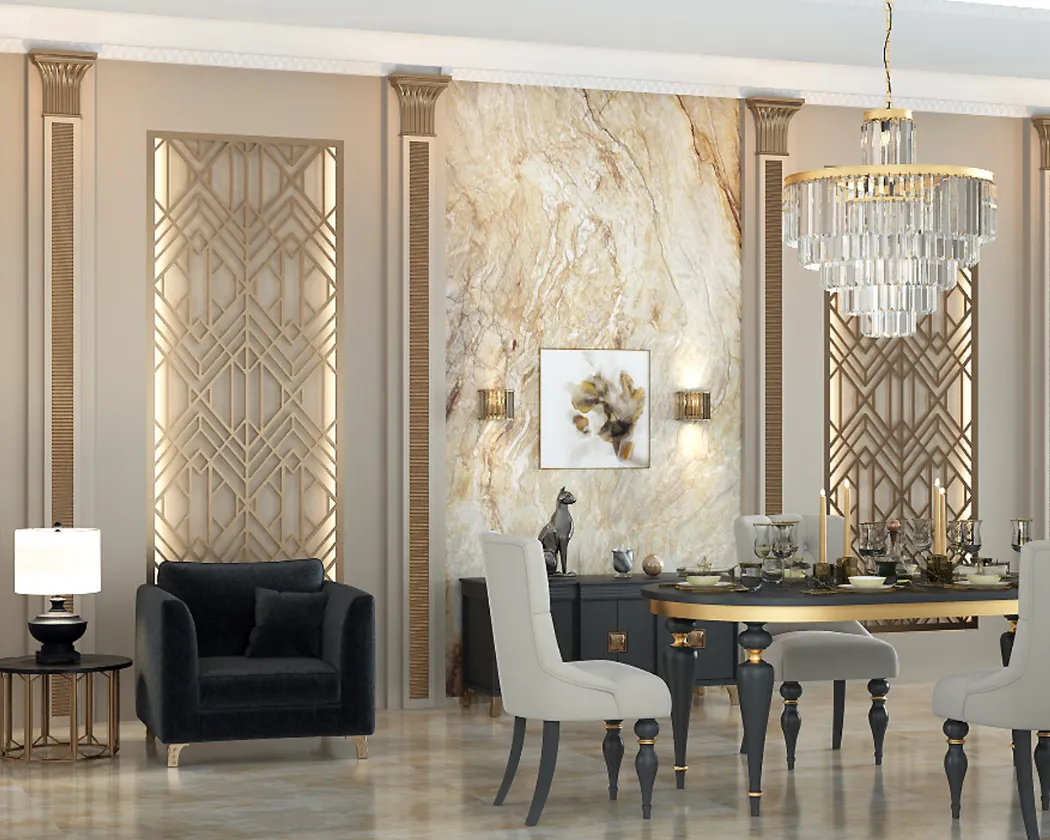
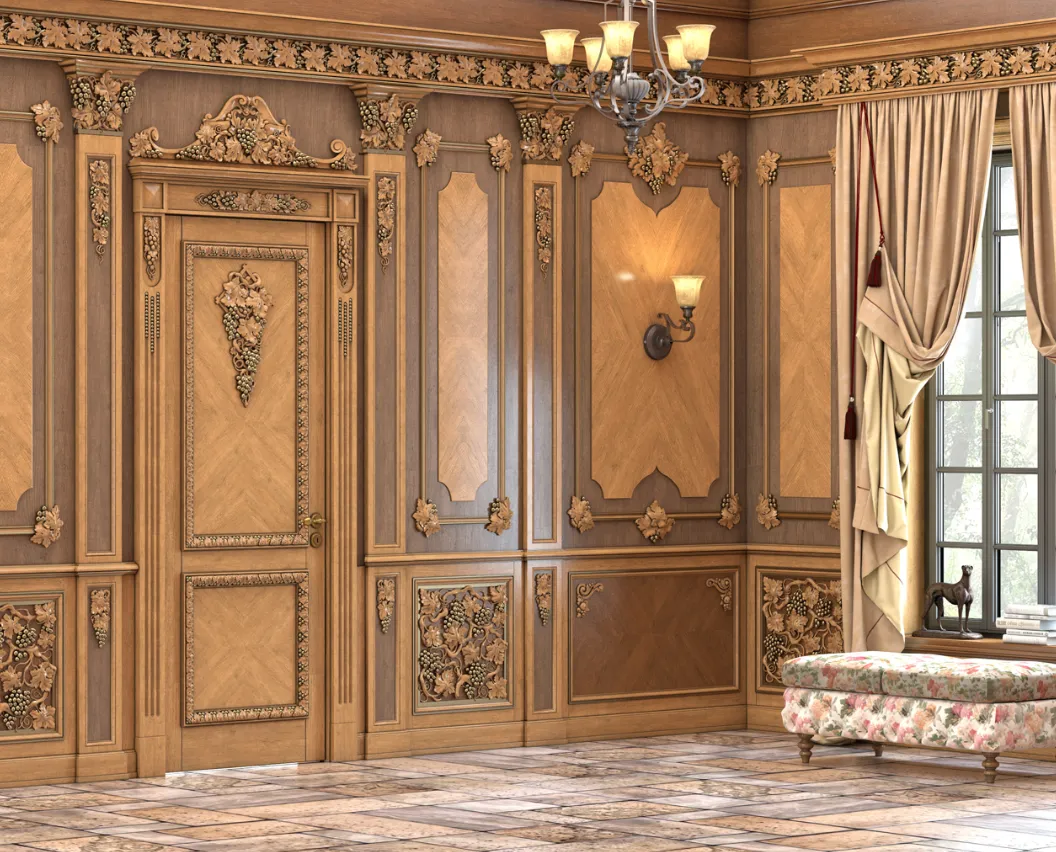
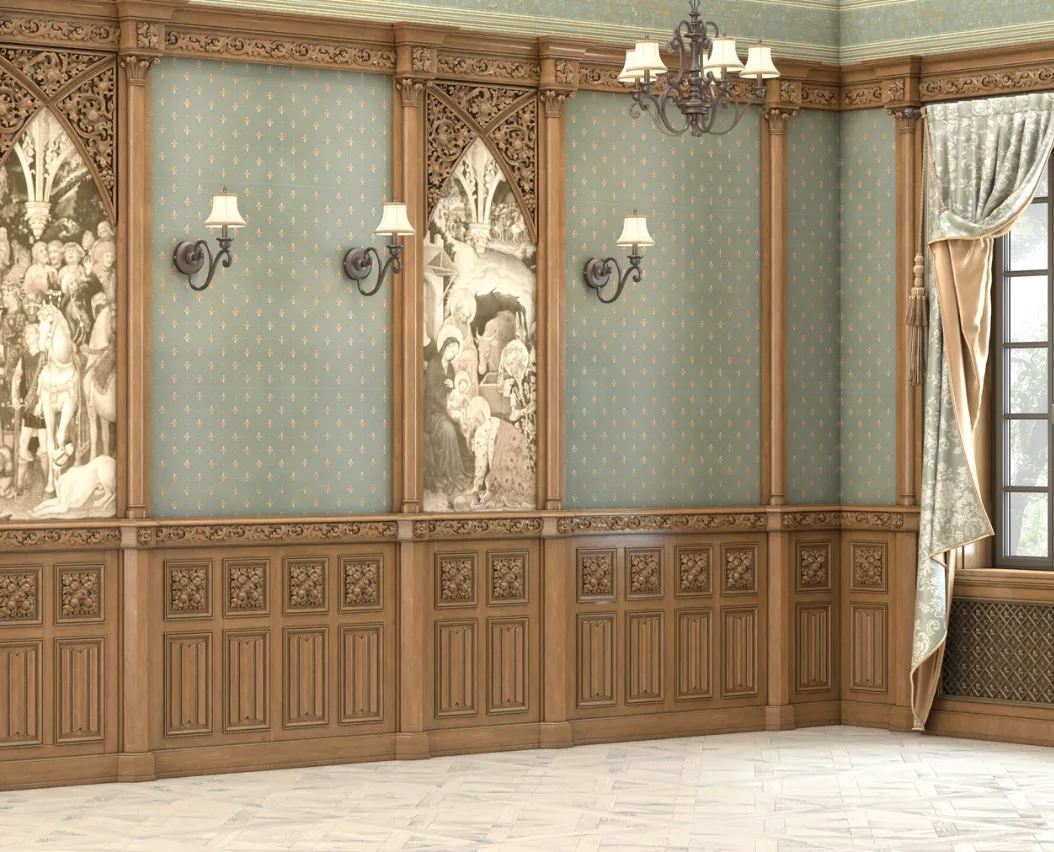
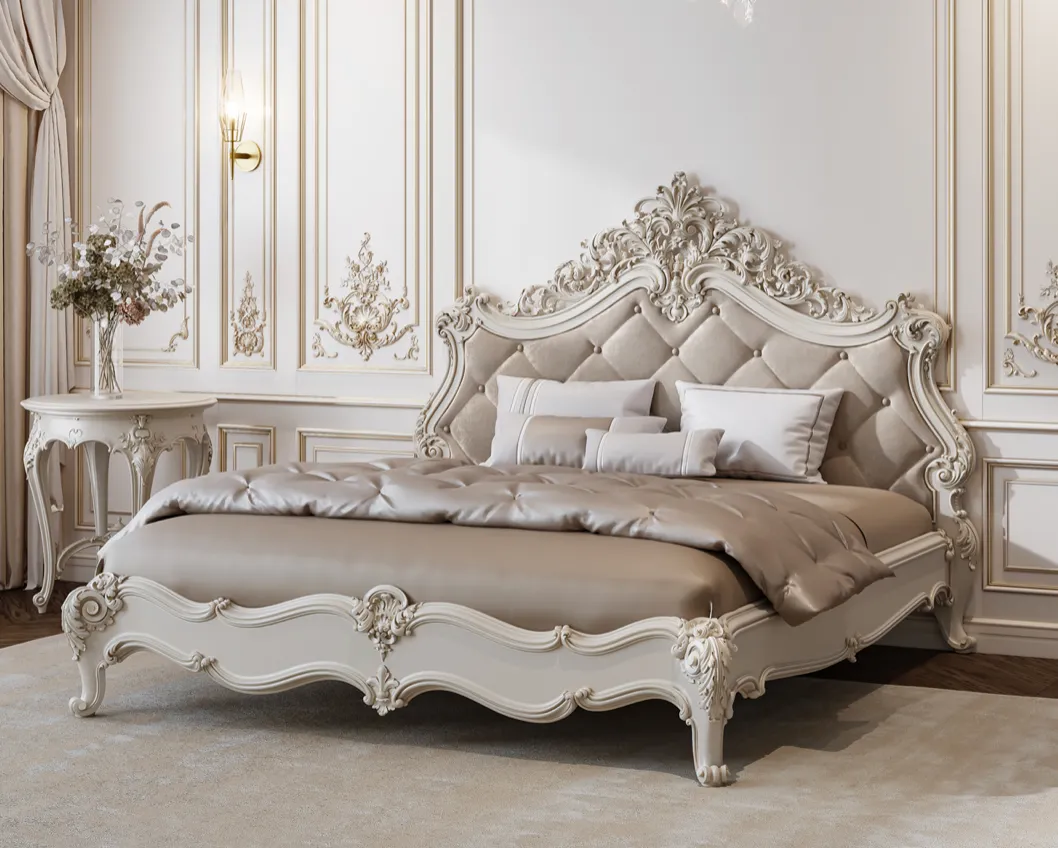
Classic and neoclassical. Here, ceiling skirting is a mandatory element. A classic cornice with a profiled section: ogee, cyma, fillet, astragal—this is not decoration for decoration's sake, it is the architectural completion of the wall. Without it, a classic interior looks unfinished.
Scandinavian style. Ceiling skirting is used in a simplified version: a thin straight strip 30–40 mm or is absent altogether. When present, it is an element of Scandinavian 'honesty': function without superfluous ornament.
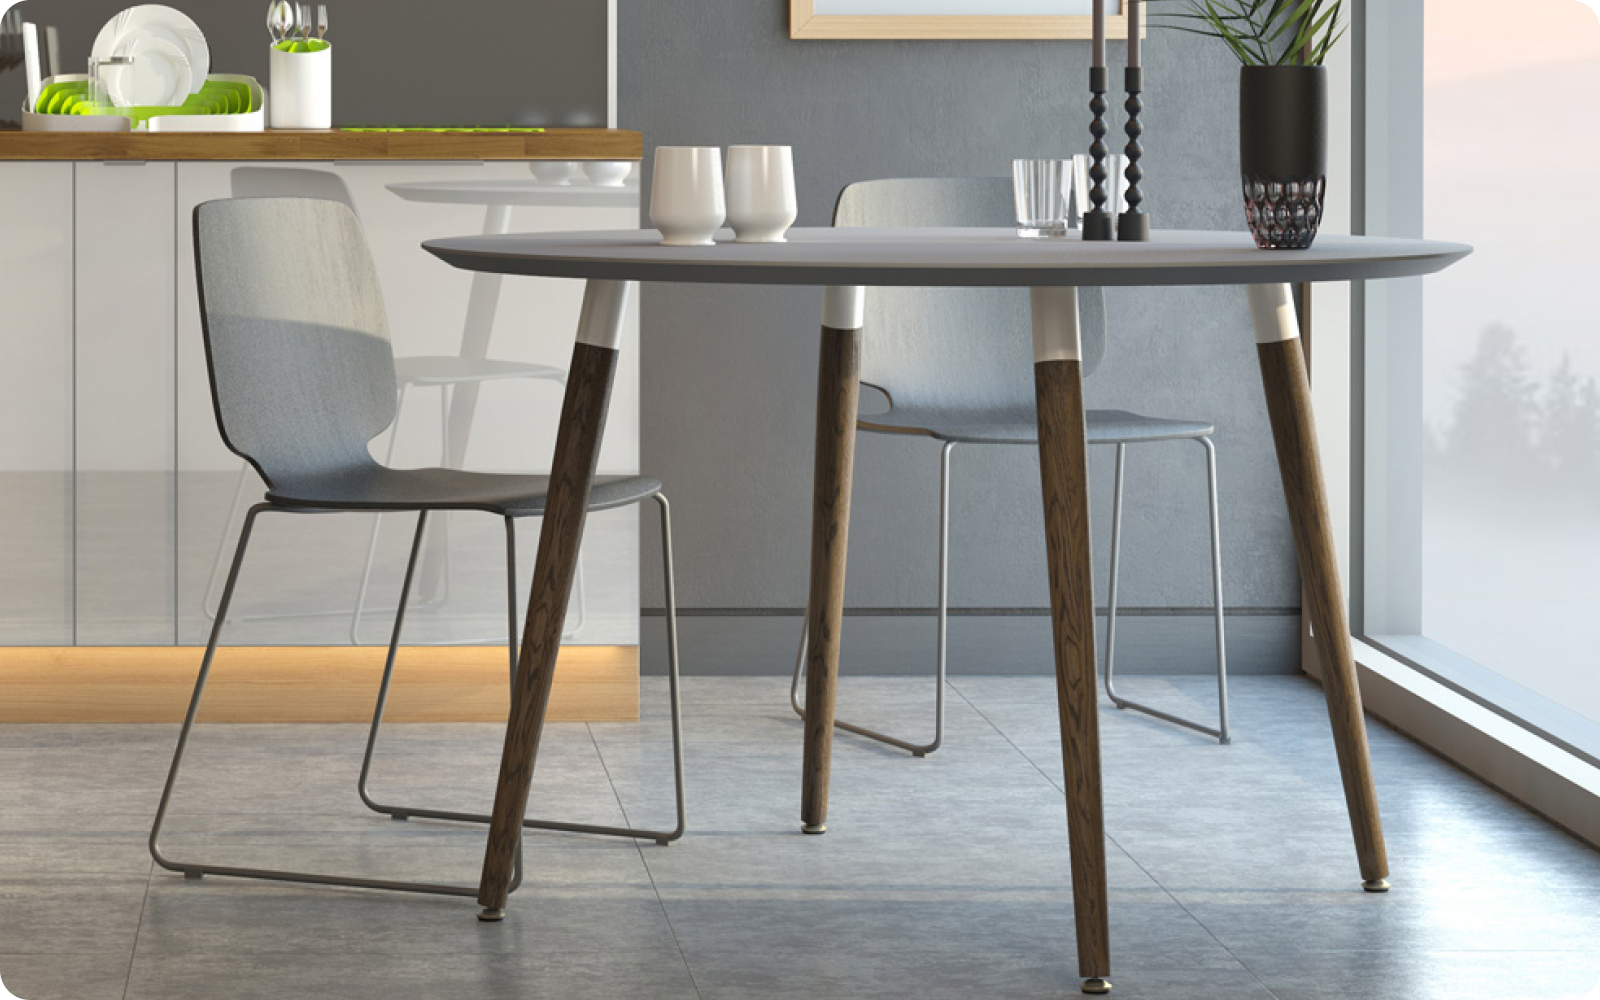
Contemporary minimalism. Ceiling skirting is often replaced by a shadow gap: a thin slit between the wall and ceiling where lighting is hidden. When skirting is used, it is of rectangular cross-section, minimal height.
Loft. Ceiling skirting is often intentionally absent: the unfinished joint between wall and ceiling is part of the industrial space aesthetic.
This is an important distinction: a wooden ceiling skirting board is a stylistic choice, not just a construction operation. You cannot place a classic cornice in a Scandinavian interior and expect harmony.
Get Consultation
How a wooden ceiling skirting board differs from a floor one — shape, dimensions
Three fundamental differences
Floor and ceiling skirting boards are relatives, but not twins. Understanding the difference means avoiding a selection error.
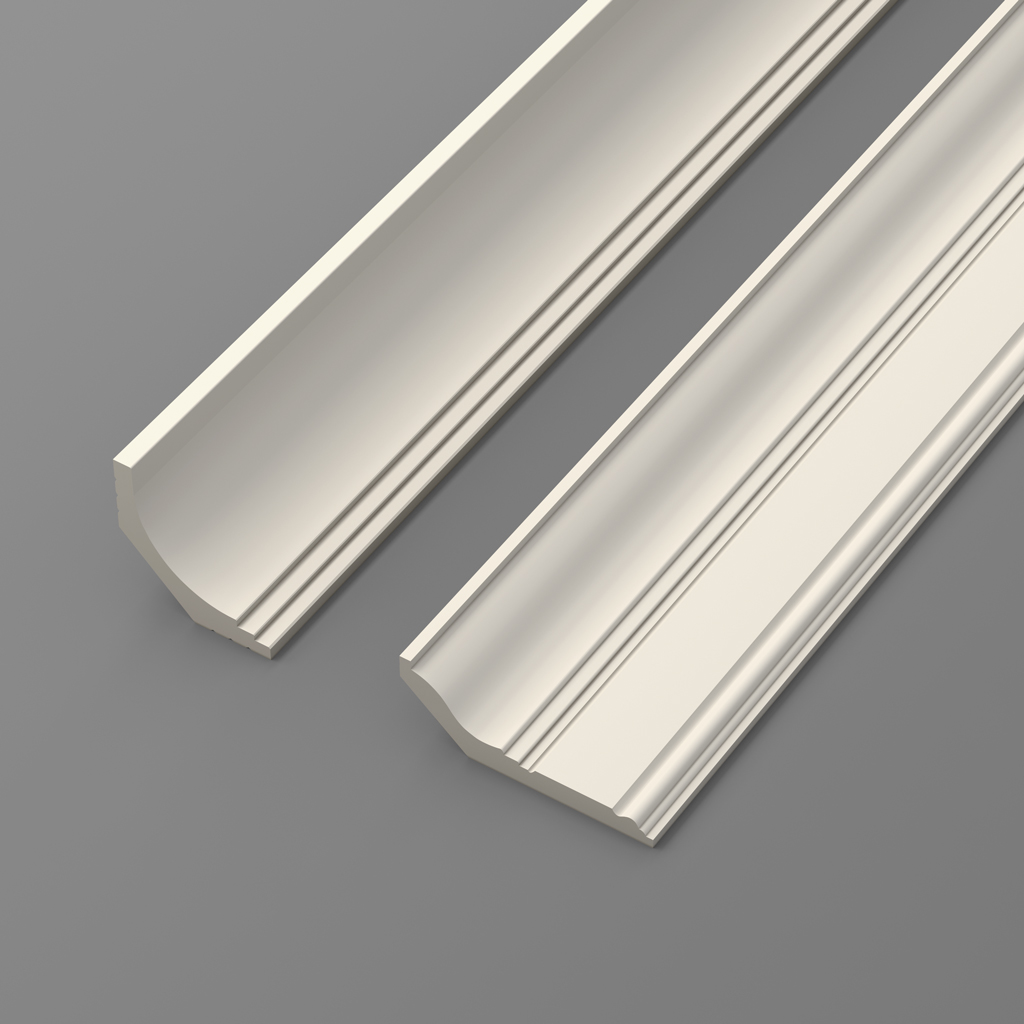
The first difference is the profile. A floor skirting board covers the 'wall-floor' transition: it adjoins a vertical surface (wall) and a horizontal one (floor). Its back side has two straight edges at a right angle. A ceiling skirting board covers the 'wall-ceiling' transition, and most often this angle is also right, but in real rooms, walls and ceilings do not form perfect right angles. Therefore, the profile of a ceiling skirting board has a bevel or curve on the back part, compensating for unevenness.
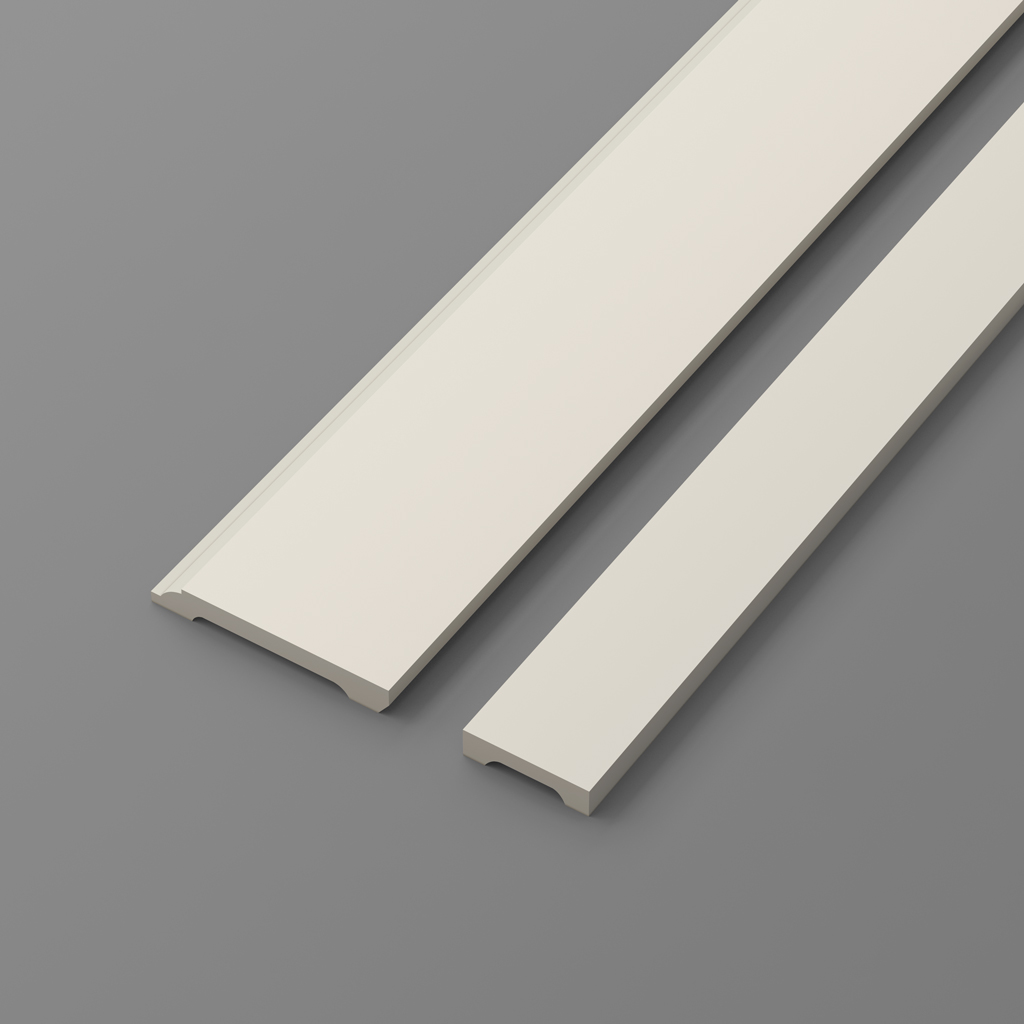
The second difference is height and width. A floor skirting board is generally taller than it is wide: it has a pronounced vertical component. A ceiling skirting board is often wider than it is tall: its task is to 'stretch' horizontally along the joint, creating a transition, not a vertical accent.
The third difference is load. A floor skirting board experiences mechanical impacts: hits from furniture, vacuum cleaners, feet. A ceiling one does not. This is precisely why softer wood species and polyurethane are acceptable for ceiling skirting boards, while for floor ones — only hard deciduous species: oak, beech, larch.
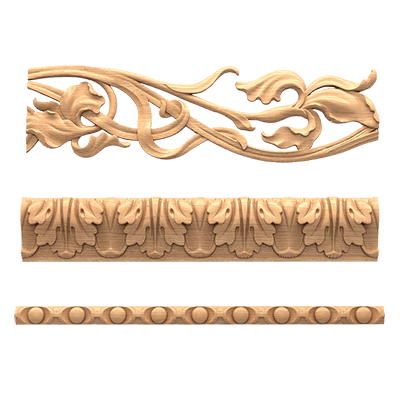
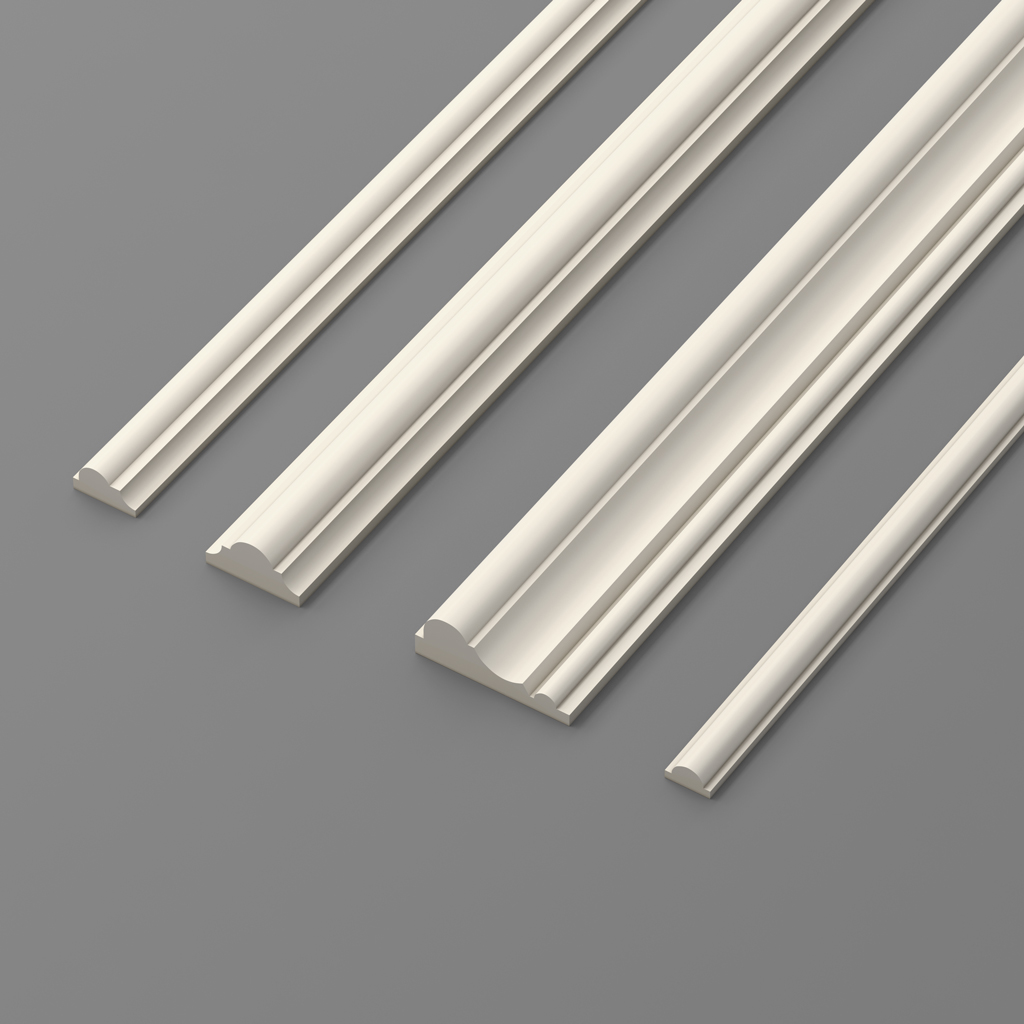
Size range of wooden ceiling skirting board
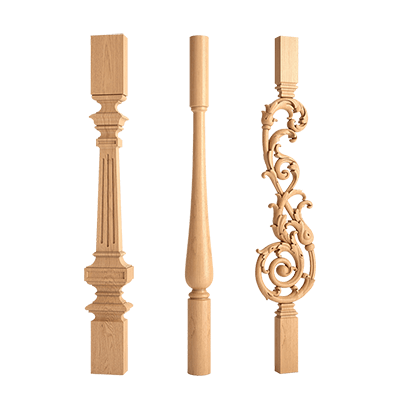
In the catalogwooden trimThe STAVROS series of wooden moldings K is represented in over 30 models. The price range is from 230 rubles (K-034) to 6,060 rubles (K-104) per linear meter. This covers all levels of interior tasks.
Thin and medium profiles (from 230 to 770 rub./lm):
-
K-034 — from 230 rub./lm. The simplest modest profile, minimal size. Suitable for Scandinavian style, minimalism.
-
K-125 — from 270 rub./lm. Slightly richer than K-034, with a small profile curve.
-
K-105 — from 300 rub./lm. Medium profile with moderate relief.
-
K-006 — from 440 rub./lm. Pronounced profile with a clear transition.
-
K-043, K-001 — from 570–770 rub./lm. Transitional level to medium profiles.
Medium profiles with ornament (from 700 to 1,420 rub./lm):
-
K-071, K-002 — от 700 р./пм. Умеренно насыщенный рельеф, флоральные или геометрические мотивы. Хорошо работают в неоклассике умеренного уровня.
-
K-004, K-083 — from 770–920 rub./lm. More pronounced relief.
-
K-016, K-011 — from 680–810 rub./lm. Medium level of saturation.
Rich profiles (from 950 to 2,580 rub./lm):
-
K-070, K-073, K-029, K-085 — from 950–990 rub./lm. Well-developed ornament, suitable for classic and neoclassical interiors with ceilings 2.9–3.2 m.
-
K-010, K-005, K-074, K-080 — from 1,350–1,480 rub./lm. Rich relief with multi-level profile.
-
K-009, K-018, K-041, K-086 — from 1,420–1,510 rub./lm. Complex profiles for formal rooms.
-
K-066 — from 2,580 rub./lm. High detail, pronounced ornamental character.
Premium level:
-
K-104 — from 6,060 rub./lm. Monumental wooden molding with maximally detailed profile. For high-class projects with ceilings 3.5 m and above.
All products are made from solid beech and oak using 3D milling with manual finish sanding. Supplied without coating — for self-painting or varnishing.
Wooden cornice and plaster cornice — when to use what
Selection logic: not 'what is better', but 'what is correct'
This is the most frequent question when designing finishes: take a wooden ceiling skirting or a polyurethane cornice? The correct answer is not 'what is better in principle', but 'what is correct for the specific task'.
There are four key selection criteria:
Criterion 1: Finish — transparent or opaque?
If you want to preserve the wood texture under oil or varnish — only the wooden option. Polyurethane has no natural texture and under a transparent coating looks like plastic, not wood.
If everything is painted white or another solid color — both materials give the same visual result. The difference is only in tactile sensations upon contact (which no one pays attention to at ceiling level).
Criterion 2: Room humidity.
Bathroom, kitchen, sauna, rooms with a pool — definitely polyurethane. WoodenWooden trimunder constant exposure to steam and moisture without reliable coating will deform and crack. Polyurethane is absolutely moisture-resistant.
Criterion 3: Height and scale of the profile.
For very rich and large cornices (section height 120–200 mm and more) with multi-level ornamentation — polyurethane is significantly better. Producing the same cornice from solid wood requires complex multi-axis milling, which sharply increases the price. The polyurethane counterpart reproduces the finest details of the ornament with the same accuracy — and weighs 3–5 times less, which is important for adhesive installation on the ceiling.
Criterion 4: Budget.
Wooden ceiling skirting K-034 starts from 230 rub./lm. Polyurethane KPU-125 — 840 rub./lm. At the basic level, wooden moldings are significantly more affordable. As the profile complexity increases, the ratio evens out: wood becomes more expensive (complex milling), polyurethane increases in price moderately.
Selection table: wood vs polyurethane for ceiling cornice
| Parameter | Wooden ceiling skirting | Polyurethane cornice KPU |
|---|---|---|
| Transparent finish (oil/varnish) | Yes | No |
| Solid color painting | Yes | Yes |
| Moist areas | No | Yes |
| Complex ornament | Limited | Yes |
| Weight (at the same size) | Medium | Lightweight |
| Basic profile price | from 230 rub./lm | from 840 rub./lm |
| Repairability | High | Low |
| Mechanical strength | High | Medium |
When perfect — both at once
One of the most professional techniques is combining: wooden ceiling skirting as the main element + polyurethane overlays or moldings as an addition. For example: wooden molding K-009 is mounted at the wall-ceiling junction; above it — a thin polyurethane molding repeating the ornamental motif; everything is painted white. Visually — a unified system. Functionally — wood where profile rigidity is needed, polyurethane — where ornamentation is needed.
Wooden moldings and polyurethane stucco on walls — joint use
A 'bottom-up' system: how the decorative vertical is built
Wooden trimandWall moldings— these are not competitors. In classic and neoclassical interiors, they occupy different levels of the same vertical:
-
Floor skirting board (wooden, solid oak or beech) — the lower element, maximum mechanical load
-
Wall moldings and frames (wood or polyurethane) — the middle zone of the wall
-
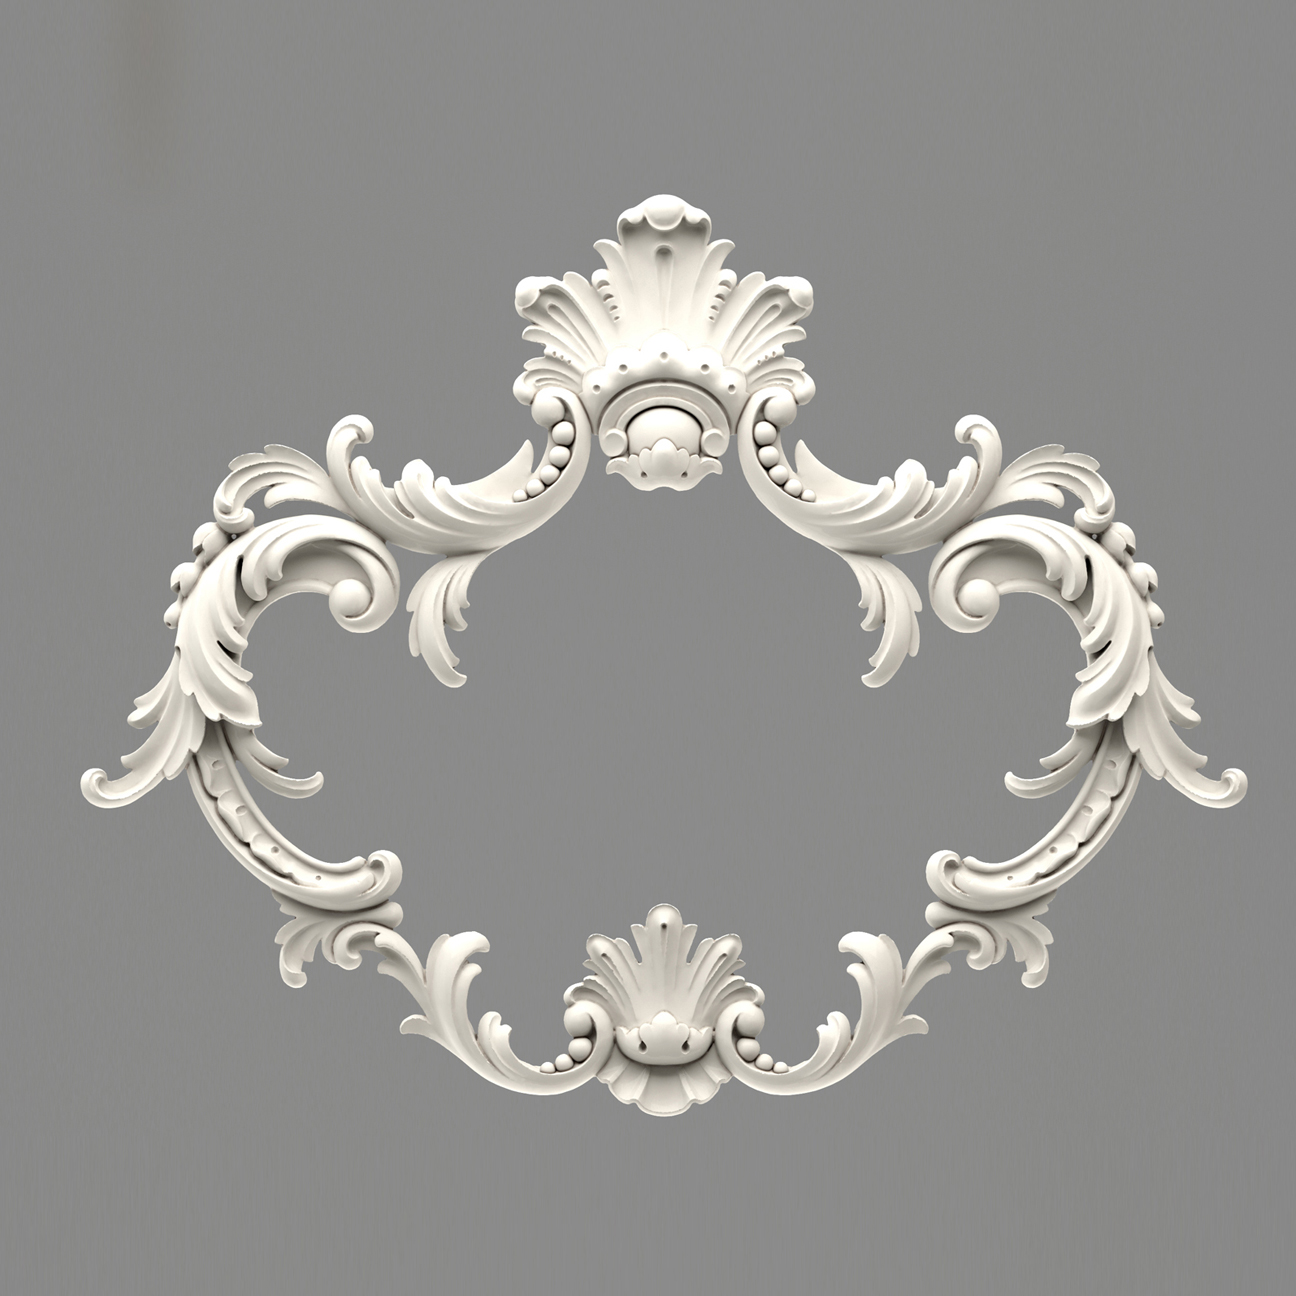
molding decorative elements— MLD-series corner blocks at nodal points
-
Ceiling wooden skirting board or polyurethane cornice — the upper element
-
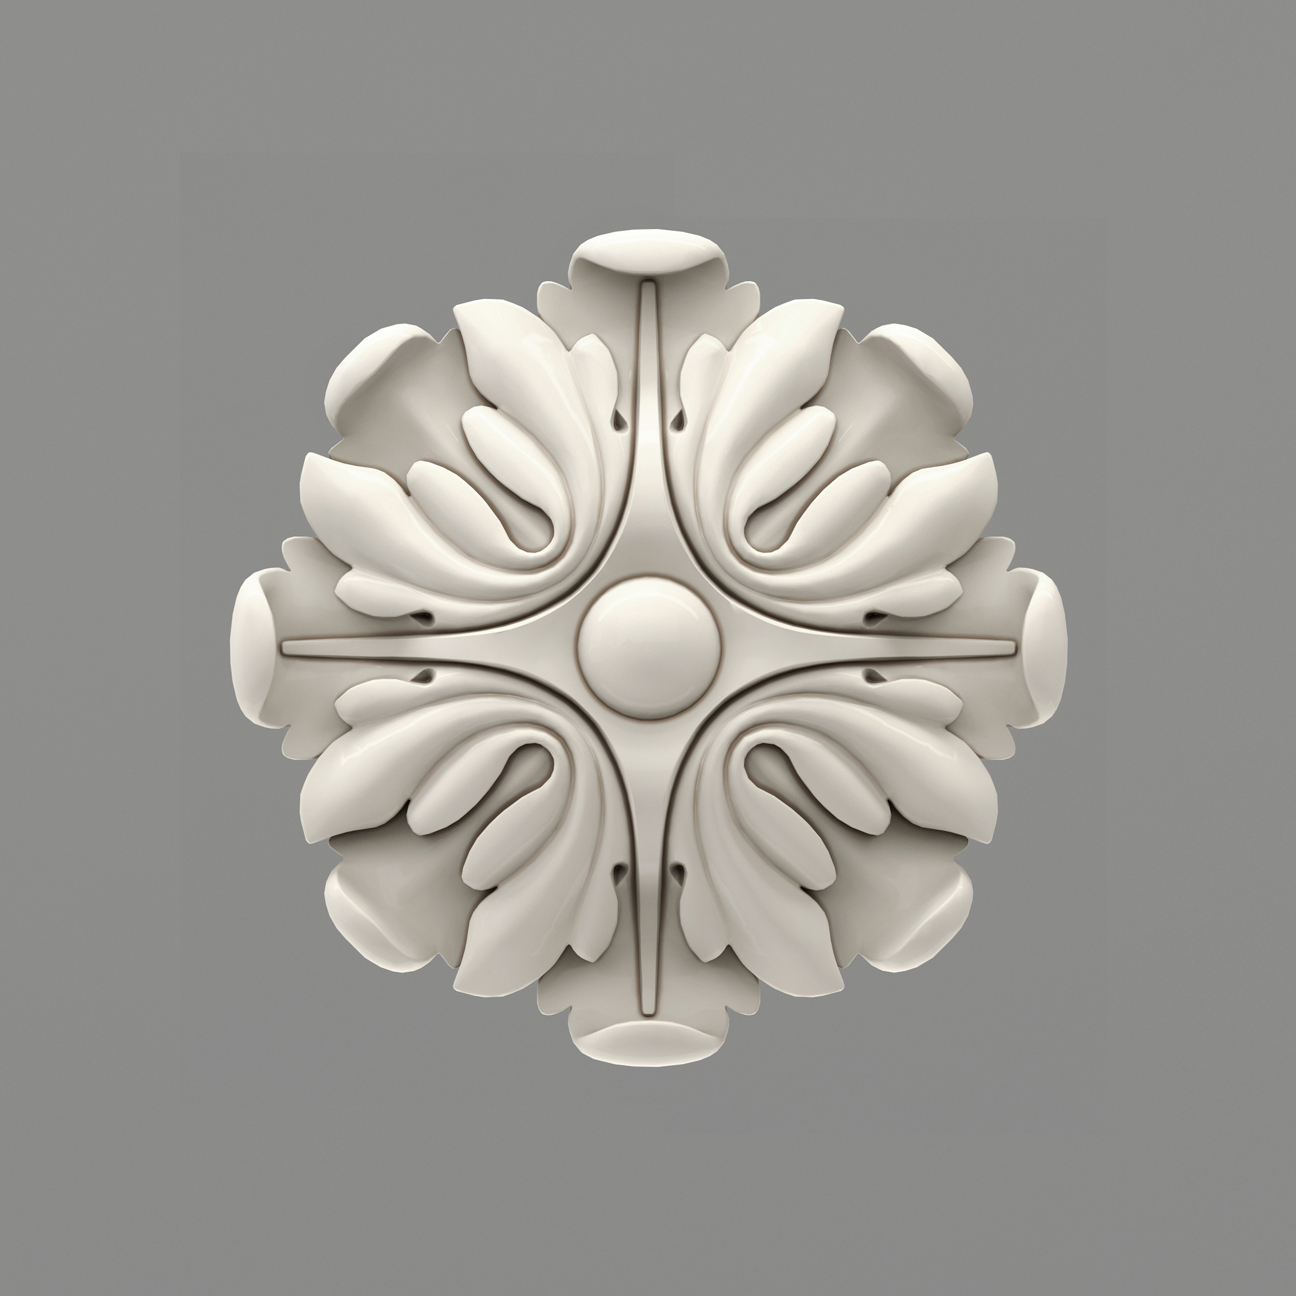
Ceiling rosette — an accent on the horizontal plane of the ceiling
Each level is resolved with the optimal material. Wood — where strength and tactility are important. Polyurethane — where lightness and complexity of ornament are important.
HowDecorative stuccocomplements wooden millwork
Between the wooden ceiling skirting board and the floor skirting board — there is a wall. And this wall can be either simply a painted plane or an active participant in the decorative program.
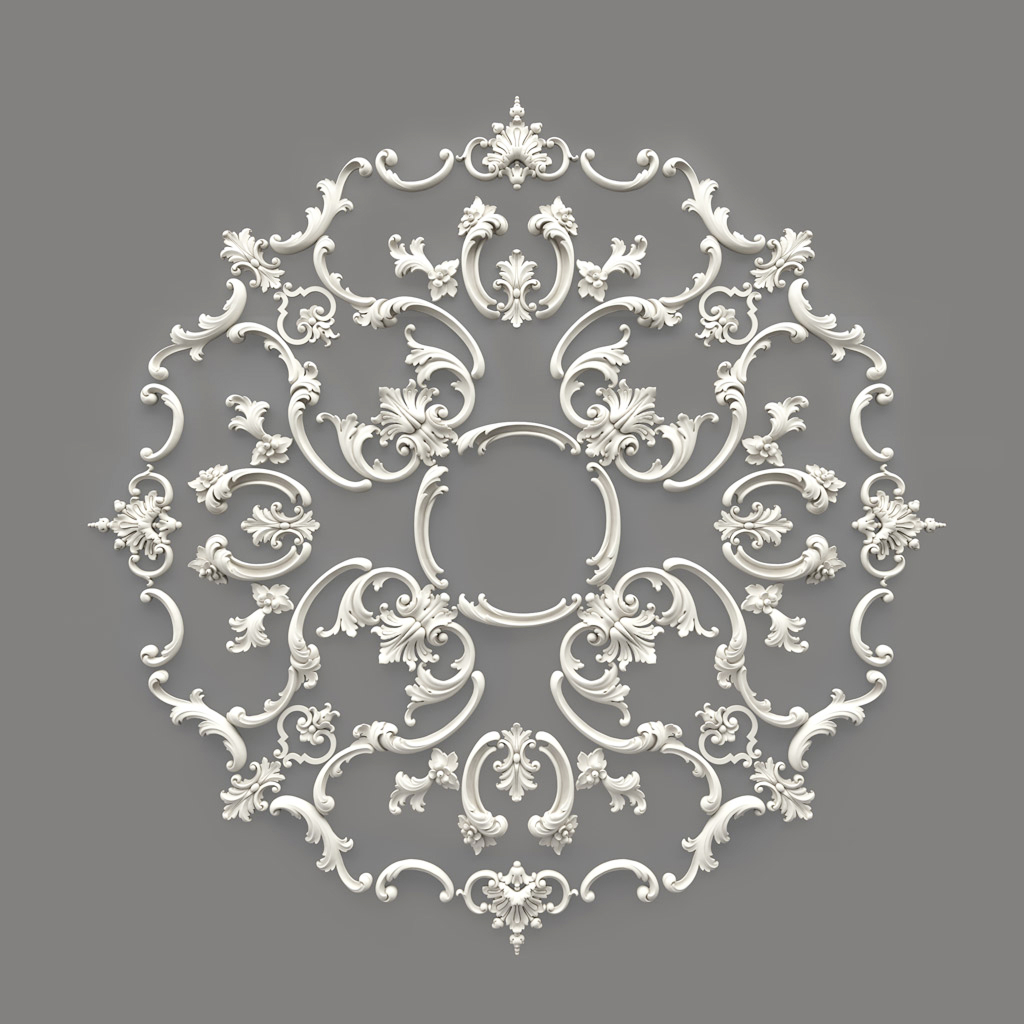
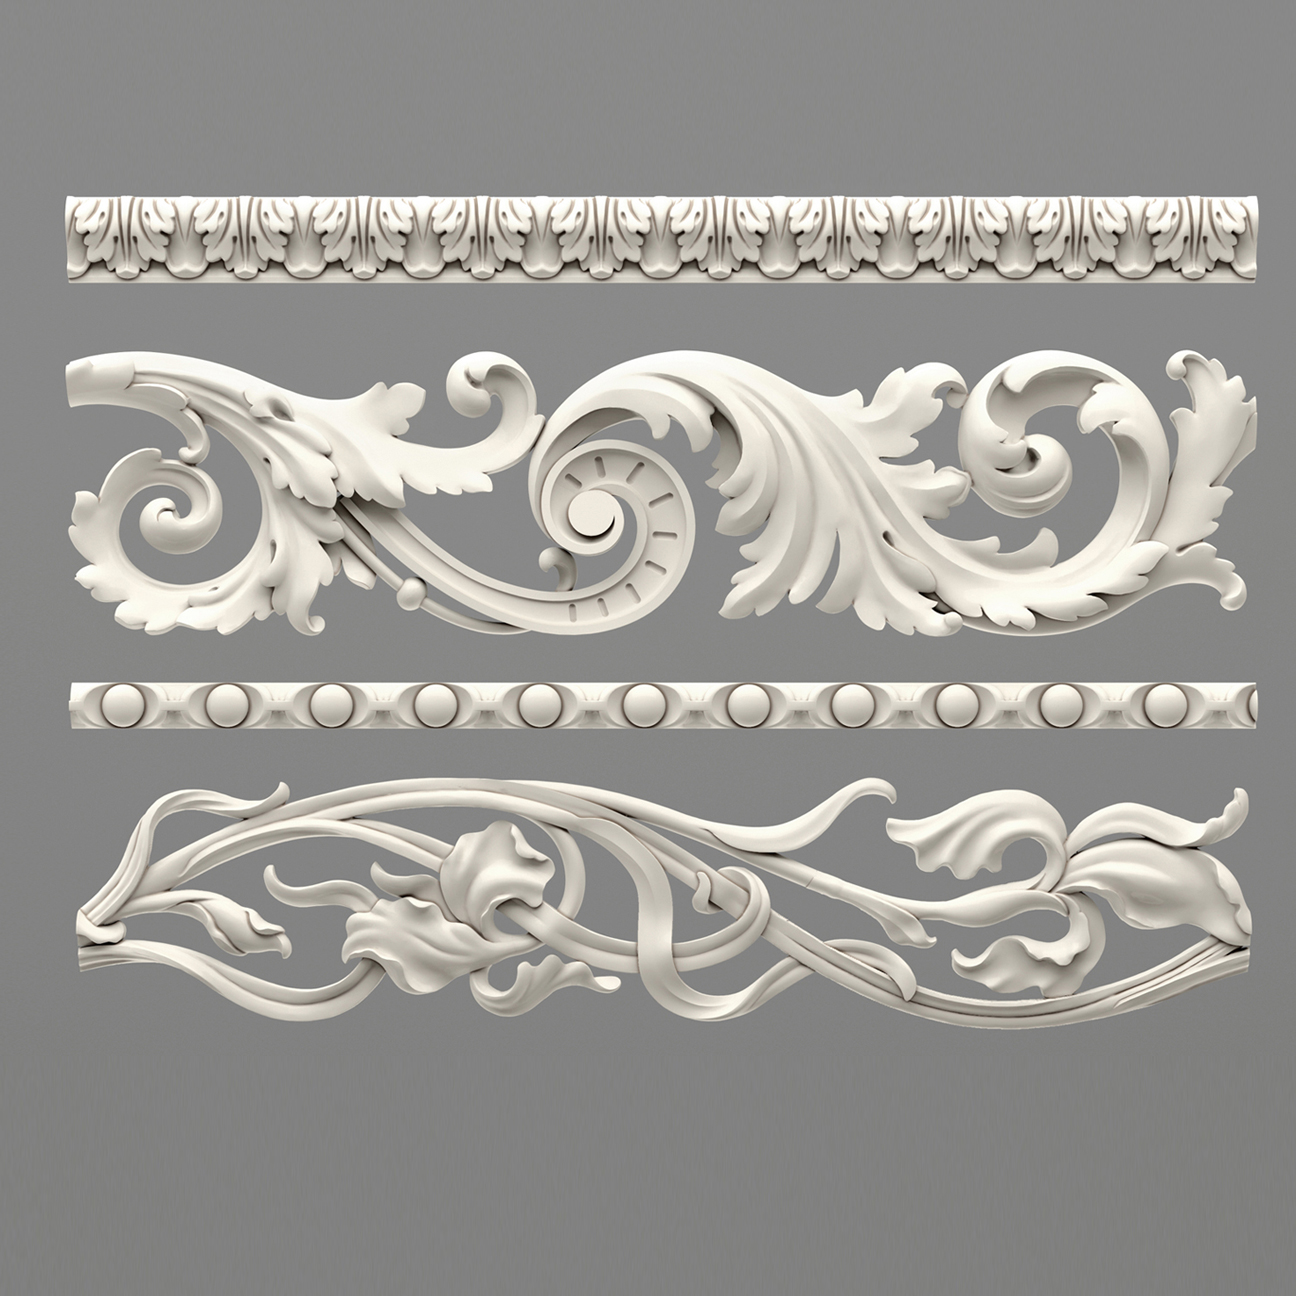
Wall-mounted polyurethane overlays andRelief DecorationSTAVROS NPU series is what fills the wall between baseboards. Decorative frames made of moldings with MLD corner blocks divide the wall into panels. NPU.VRS overlays create ornamental accents. All of this works in a unified system with wooden trim — provided that the ornamental language of all elements is coordinated.
Combination rule: wooden baseboard with classic floral profile + wall moldings with moderate ornamentation + ceiling cornice with floral relief = unified classical system. Replacing any of these elements with a geometric modern profile — destroys the system.
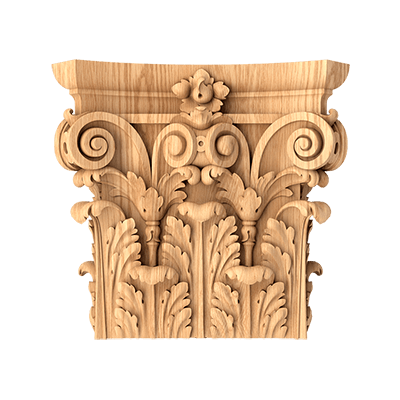
Specifics of working with wooden K-series moldings
In the STAVROS catalog, wooden K-series moldings are ceiling profiles with different levels of decoration. They are made from solid beech and oak using 3D milling: each element of the pattern is cut by a milling cutter according to a digital program, and then hand-sanded to smoothness.
Why is 3D milling important? A regular milling cutter works in two planes: vertical and horizontal. Complex smooth transitions of classical ornamentation require simultaneous movement of the tool along several axes. It is three-axis milling that allows reproducing smooth curves of ornamentation without the stepping and 'angularity' that give away cheap production.
Hand sanding after milling is the final stage, which removes tool marks and makes the surface ready for coating without additional puttying.
Installing ceiling baseboard yourself: glue, nails, corner joints
Preparation for installation: three mandatory steps
Step 1: Checking corner geometry. In most real rooms, corners are not perfectly straight — they deviate by 1–3°. This needs to be measured with an angle finder or bevel gauge before starting installation. If the angle is 89° or 91° — a 45° cut will create a visible gap. Correction: cut at (90° + deviation) / 2.
Step 2: Surface Priming. The ceiling and wall in the installation area are primed 12–24 hours before installation. Water-based deep penetration primer significantly improves the adhesion of the adhesive to plaster, drywall, and putty. Without primer, the adhesive only holds to the surface layer—during heating or vibration, the baseboard may detach.
Step 3: Marking. Mark a horizontal level line along the entire perimeter—at a distance equal to the width of the baseboard from the ceiling. This is your guide during installation: the lower edge of the baseboard must strictly align with this line around the entire perimeter.
Adhesive for Wooden Ceiling Baseboard
Adhesive selection depends on the baseboard material and substrate:
Carpenter's PVA D3 (water-resistant)—for installing wooden baseboard on wooden substrate. Open time 5–10 minutes, setting time 30–60 minutes, final strength 24 hours. Importantly: D3 indicates water resistance under short-term water exposure—excessive for dry rooms but reliable.
Water-based liquid nails—for installation on drywall, plaster, putty. Contain no solvents—do not damage the surface. Viscosity allows holding the baseboard even on sloped and horizontal surfaces due to rapid initial setting.
Acrylic mounting adhesive with high initial adhesion—a universal option. Works on most surfaces, holds the weight of a wooden baseboard without additional fixation.
What not to use: adhesives based on polyurethane foaming agent (construction foam in a tube)—they exert uneven force during expansion and can deform the profile. Cement-based compounds—categorically unsuitable for wooden and polyurethane baseboards.
Nails or adhesive only?
For wooden ceiling baseboard—adhesive + finishing nails. This is the professional standard.
Nails solve the main problem during ceiling installation: while the adhesive gains strength (30–60 minutes), the skirting board must be held pressed against the surface. Two options: hold by hand (impossible along the entire length) or secure with nails.
Finish nails 30–40 mm long with a thin head are driven every 30–40 cm. The nails are countersunk with a nail set 1–2 mm below the surface. The holes are filled with wood filler (for wooden skirting boards to be painted) or white acrylic sealant (for monochrome painting).
For polyurethane cornices KPU — adhesive only, no nails. Polyurethane at the nail location shows visible compression that does not recover.
Corner joints: three methods, one goal
Method 1: 45° miter cut. Both skirting boards are cut at 45° and joined in the corner. Requires an accurate protractor and a miter saw with angle adjustment. Ideal for a 90° right angle. If the angle deviates, the miter angle must be adjusted.
Method 2: "Butt joint" (profile copying). One skirting board enters the corner with a square end (straight crosscut). The second skirting board is trimmed so that its profiled end replicates the contour of the first and fits tightly against it. More complex to execute but yields a cleaner result on uneven walls and non-standard angles.
Method 3: Corner inserts. For wooden ceiling skirting boards, there are ready-made corner inserts — blocks made in the same profile. The skirting boards are cut at a right angle and joined to the side faces of the insert. This is the simplest method, completely eliminating complex miter cuts. In the catalogdecoration for moldingsSTAVROS — MLD-U series of corner blocks, matched in profile to the K-series wooden moldings.
Sealing joints: the final step that cannot be skipped
With any installation method, micro-gaps remain at the joints. They must be sealed before the final painting.
For wooden skirting boards under white paint: acrylic white sealant applied in a thin strip, smoothed with a wet finger. After drying — light sanding with a 320-grit sponge, painting.
For wooden skirting boards under clear varnish or oil: wood putty matching the wood tone. Acrylic white sealant under a clear coating will appear as a whitish spot — this is unacceptable.
The joint between the skirting board and wall/ceiling along the entire length (not just in corners) — is also sealed with a thin strip of sealant. This prevents dust from getting under the skirting board and gives the installation a 'monolithic' appearance.
Painting in white and colored options
Preparing wooden skirting board surface for painting
Wooden ceiling skirting board is supplied unfinished. The surface is sanded and ready for coating application — but requires proper preparation.
Step 1: Priming. Acrylic wood primer, 1 coat. The primer seals the wood pores, creating an even base for paint and reducing its consumption. Without primer, the first coat of enamel 'sinks' into the wood unevenly, and achieving even coverage will require 4–5 coats instead of 2–3.
Step 2: Sanding after primer. Sponge 240–280. The primer raises the wood grain — sanding removes it. Without this step, the surface under the enamel will be slightly rough.
Step 3: First coat of enamel. Acrylic matte or semi-matte enamel. Applied with a natural or synthetic bristle brush or a velour roller (for a smooth surface).
Step 4: Sanding between coats. Sponge 320. Removes 'orange peel' and brush hair marks.
Step 5: Final coat. Second (or third, if the first gave incomplete coverage) coat of enamel — without sanding after. The final coat is always applied last, without mechanical impact.
White color: which tone to choose
White is not one. There are thousands of shades of white, and choosing 'just white' in a store often leads to disappointment: the ceiling turns out slightly bluish, the baseboard yellowish, and they 'clash'.
Professional approach: choose the white tone for the ceiling and mix the enamel for the baseboard from the same base, adding the same tint. Then the shades will be identical. If the ceiling is chalk white, the baseboard is also chalk white. If the ceiling is cool white, the baseboard is the same.
For a classic interior: warm white with a slight creamy or ivory tint is recommended. Cold 'dazzling' white looks sterile in classic style—it is more suitable for Scandinavian style or minimalism.
Wooden ceiling baseboard without painting: oil and varnish
If a ceiling baseboard made of oak is planned with a transparent finish—preserving the wood grain texture—oil or varnish is used.
Oil with wax—gives a matte natural look. Emphasizes the texture of oak, making the grain pattern more contrasting. Requires annual or every 2–3 years renewal. A more 'living' coating—the wood breathes.
Parquet varnish—glossy or matte coating with high protection. Does not require frequent renewal—once every 5–7 years is enough. For a ceiling baseboard, matte varnish is optimal: gloss at ceiling level under artificial lighting creates glare, which is distracting.
Tinting oils—allow changing the color of the wood while preserving the texture. Oak can be tinted to tobacco, wenge, gray, antique. This allows coordinating a wooden ceiling baseboard with dark parquet or wooden wall panels without the need to paint it white.
Color solutions: beyond white
Neoclassical style today is not limited to white moldings. Several current color strategies for wooden ceiling skirting boards:
"Tone-on-tone" with the wall. The skirting board is painted the same color as the wall—but with increased gloss (satin instead of matte). The relief of the skirting board is perceived through the difference in sheen, not through color contrast. A soft, delicate result.
"Gold on dark." Dark green or dark blue walls + wooden skirting board with gold-painted ornament. The gold is applied almost dry-brushed only on the protruding parts of the relief—this is the "dry brush" technique. Produces an expensive and refined effect.
"Gray classicism." Walls in a warm gray tone, skirting board—in light gray, one shade lighter. Ceiling—in white. This is a modern neutral neoclassicism without "palatial" heaviness.
FAQ: Answers to popular questions
Can a wooden ceiling skirting board be used in a bathroom?
No—not without special moisture-resistant treatment. A wooden skirting board in a bathroom without a multi-layer moisture-protective coating (yacht varnish or special facade coating) will deteriorate from steam within 1–3 years. For the bathroom, a polyurethane cornice of the KPU series is recommended—it is absolutely moisture-resistant.
How to choose the width of a wooden ceiling skirting board relative to the ceiling height?
Recommended ratio: width (section height) of the ceiling skirting board = 1/25 to 1/35 of the ceiling height. For a 2.7 m ceiling: 2700 / 30 = 90 mm. For a 3.0 m ceiling: 3000 / 30 = 100 mm. This is a guideline, not a strict rule, but it reflects visual balance.
What adhesive to use for a wooden ceiling skirting board on a drywall ceiling?
Water-based liquid nails (without solvents) + finishing nails 30–40 mm long for fixation until the adhesive sets. Adhesives with solvents on drywall are not recommended—they damage the cardboard surface of the drywall sheet.
Is it necessary to acclimate wooden moldings before installation?
Preferably. 24–48 hours indoors (at installation temperature and humidity) allows the wood to reach equilibrium moisture content. This prevents shrinkage and warping after installation. Do not install immediately after winter delivery from a frozen vehicle: a sudden change in temperature and humidity is stressful for the wood.
Can wooden ceiling skirting be installed before painting the walls?
It is better to install before the final wall painting. Then the joint between the skirting and the wall is covered by paint after painting—the seam line disappears. If installing after painting, you need to carefully tape the painted surface with painter's tape to avoid staining it with adhesive and sealant.
How to avoid cracks in wooden skirting joints a year after installation?
Cracks in joints are the result of seasonal wood movement (dry season—shrinkage, humid season—expansion). Solution: use acrylic elastic sealant to fill joints, not hard putty. Acrylic compensates for movement. Hard putty—cracks.
About the company STAVROS
The quality of wooden millwork lies in the details not visible at first glance: in the wood species, in the kiln-drying regime, in the precision of 3D milling, in the thoroughness of hand sanding. It is these invisible details that determine whether the skirting will maintain its shape for 10 years—or start cracking within a year.
STAVROS producesWooden trimK series—over 30 models of wooden moldings and ceiling profiles made from solid beech and oak, from 230 to 6,060 rubles per linear meter. All products are manufactured by 3D milling from kiln-dried wood with 8–10% moisture content and undergo hand finishing sanding. Supplied unfinished—for self-painting, oil, or varnish.
In addition to wooden millwork—a complete line ofpolyurethane cornices KPU(over 30 models from 840 to 20,590 rub./lm),molding decorative elementsMLD series andmolded decoration made of polyurethanefor walls and ceilings — everything as a unified, coordinated system.
Stock program — shipping from 1 piece on the order day. Delivery across Russia and CIS countries.
STAVROS is a manufacturer for whom a detail is not a trifle. A detail is the beginning of everything.